
What if there was a way to identify your leads and customers whenever they visit your website?
Even better,
What if you could use that information to personalize the user experience when they visit your site?
This means, calling your visitors by their names and creating dynamic content unique to each visitor based on the data that you collect from them.
Brands that use personalization see significant increases in customer engagement, 20% more sales opportunities, and 18x more revenue (source: Jupiter Research and Annuitas Group studies).
And guess what?
OptinMonster has a Smart Tag feature which makes website personalization easy!
It’s a simple drag-and-drop popup builder and an awesome cost-effective way to use smart dynamic content in onsite marketing campaigns.
What Are Smart Tags
As I said earlier smart tags allow you to easily add dynamic text to your campaign.
They allow you to automatically show your visitor’s name, show content unique to each visitor or show the current day of the week.
The smart tag tool is an incredibly powerful tool that you can use to optimize success!
Some links in this section are affiliate links. I may earn a small commission to buy toys for my kids if you use these links. You will not be charged extra. I only recommend high-quality products and I don’t recommend them based on the small amount I earn if you decide to make a purchase
Note: You need a pro or higher OptinMonster plan for you to get the smart tag feature
Get an OptinMonster subscription here
Smart Tags Examples
Now that you know what smart tags are and how essential they are to your business, you might wonder what their formats are and how they look like.
I got you,
First, let’s talk about smart tags formats
Every smart tag starts with two opening curly braces and ends with two ending curly braces:
{{SMART_TAG_NAME}}
That said, below are examples of smart tags:
A smart tag showing a visitor’s name >> {{form_first_name}}
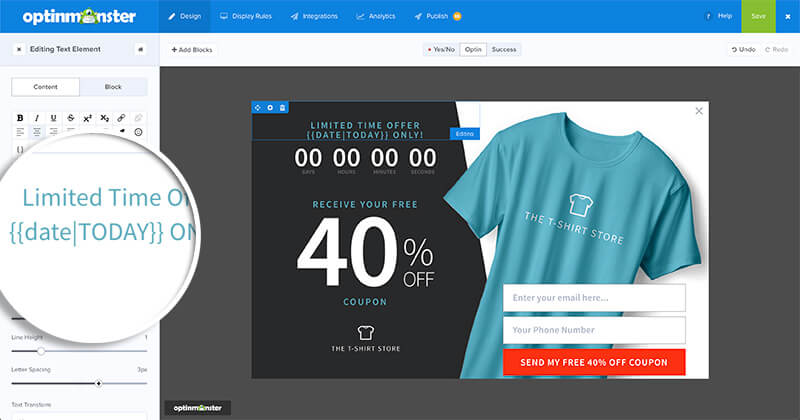
A smart tag with default text: You can define the default value you can use for the smart tag if the tag can’t find the necessary information.
In this example, “visitor” is our default text >> {{ form_first_name |VISITOR}}
How To Add Smart Tags

When creating a campaign you can simply customize your text using your own custom tags or OptinMonster’s predefined smart tags
Now, let’s add a smart tag:
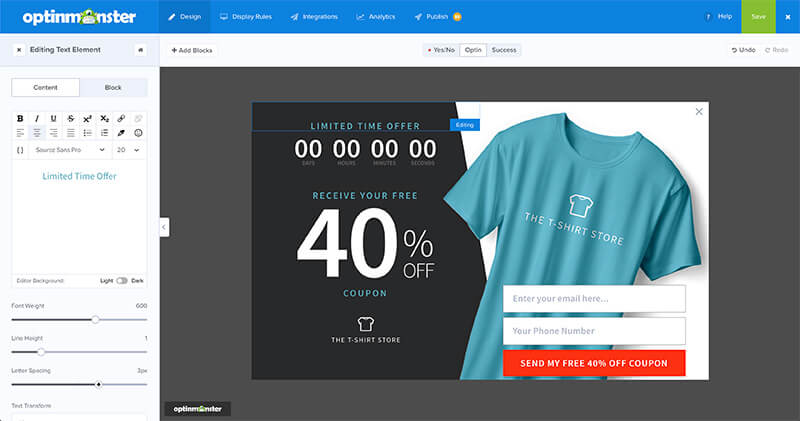
- In the campaing builder >> Add or Edit a text element.
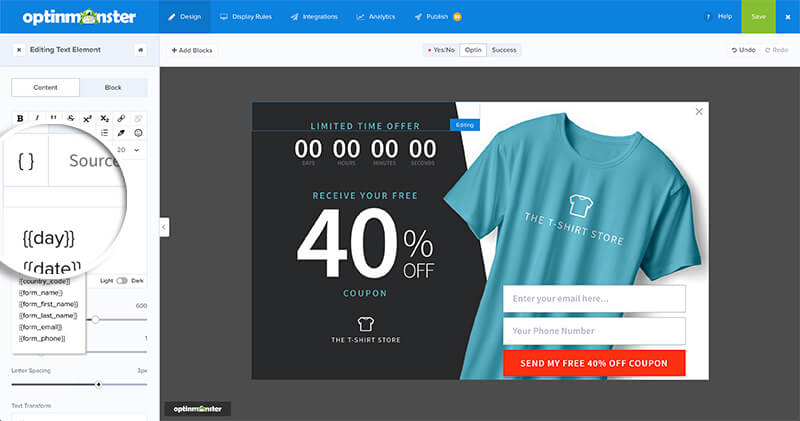
2. Select { } to choose a predefined smart tag.
Below is a list of predefined smart tags that are available:
Date and Time tags
- {{date}}: the current date.
- {{day}}: the current day of the week.
- {{month}}: the current month.
- {{year}}: the current year.
Geographical Tags
- {{city}}: The visitor’s city
- {{state}}: The visitor’s current state if it exists.
- {{region}}: The visitor’s current region which would include states, provinces, etc.
- {{region_code}}: The current region’s abbreviation.
- {{postal_code}}: The same as {{zip}}
- {{zip}}: The visitor’s current zip code.
- {{country}}: The visitor’s current country.
- {{country_code}}: The current country’s abbreviation.
Form Data Tags
- {{form_name}}: The full name submitted in the name field.
- {{form_first_name}}: The first name submitted in the name field.
- {{form_last_name}}: The last name submitted in the name field if a last name was submitted.
- {{form_email}}: The email address submitted in the form.
- {{form_phone}}: The phone number submitted in the phone field.
Campaign Name Tags
- {{campaign_name}}: The name of the current campaign.
Customer Journey Tags
- {{page_url}}: The URL of the current page.
- {{referrer_url}}: The URL of the previous page.
- {{pages_visited}}: The number of pages the user has visited.
- {{time_on_site}}: The amount of time the user has spent on the site in milliseconds.
- {{visit_timestamp}}: The current timestamp.
- {{page_title}}: The title of the current page.
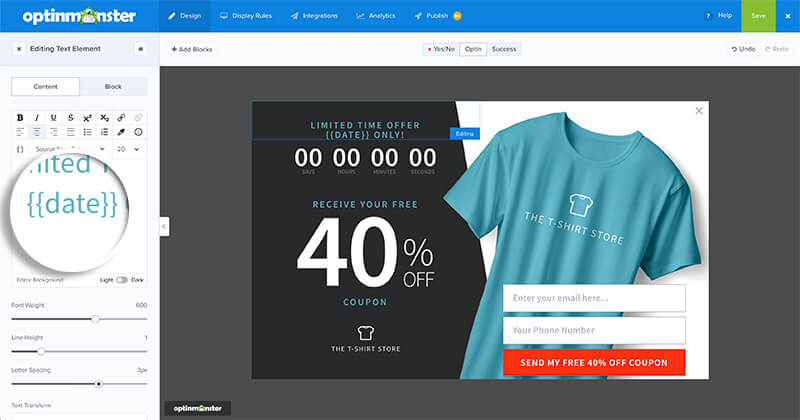
3. Select your smart tag and it will be automatically added to the text field editor.
Define the default value you want to use for the smart tag in case the tag can not find the necessary information.
Don’t forget to save the changes.
Conclusion
There you have it!
How to use smart tags for dynamic text replacement and increase customer engagement.
Now that you know how to do it all by yourself, get OptinMonster and take your business to the next level.
I hope this post helped you, please show some love kindly share with your peeps and don’t forget to follow me on Pinterest

Mathea Ford is a blogger, dietitian and mom of 2 just working on this blog to make life a little better for those around me. Check out her latest posts