
Want more details from your visitors when they fill out your WordPress forms?
You’re at the right place
In this post, I’m going to show you how to add a file upload field in your WordPress forms using WPForms so that you can quickly collect all the details you need from your visitors

Reasons Why You Should Add A File Upload Field In Your WordPress Forms
Before we go any further let’s understand why you need to add the file upload feature in WordPress forms
The main reason why you should add a file upload field in your WordPress forms is to make it easy and quick for your users to provide different types of files and media such as:
- Resume files when they fill out your job application forms
- Pictures (as image files) when they enter a contest or a giveaway
- Audio clips for you to play during your podcast
- Documents to provide additional information via your customer support forms
That’s not all, it’ll also reduce your form abandonment rate which means you’ll increase your revenue
How To Upload Files To Your WordPress Website Using WPForms
Some links in this section are affiliate links. I may earn a small commission to buy toys for my kids if you use these links. You will not be charged extra. I only recommend high-quality products and I don’t recommend them based on the small amount I earn if you decide to make a purchase
Wondering why WPForms when you can use the Google form upload feature?
The best part about adding file upload forms in WordPress using WPForms is that you can add file uploads anywhere on your site
Unlike adding with the Google form upload feature which only allows you to add the file upload feature on form pages only
Now let’s create the file upload form, shall we?
Step 1: Install and activate WPForms
First, Install and activate WPForms pro because the free version doesn’t have the feature to add file uploads
For more information on how to install WPForms, follow my step by step guide on how to install WordPress plugins
Step 2: Activate the form templates pack add-on
The form templates pack add-on allows you to use pre-build forms in WPForms
Follow this guide and learn how to install the form templates pack add-on
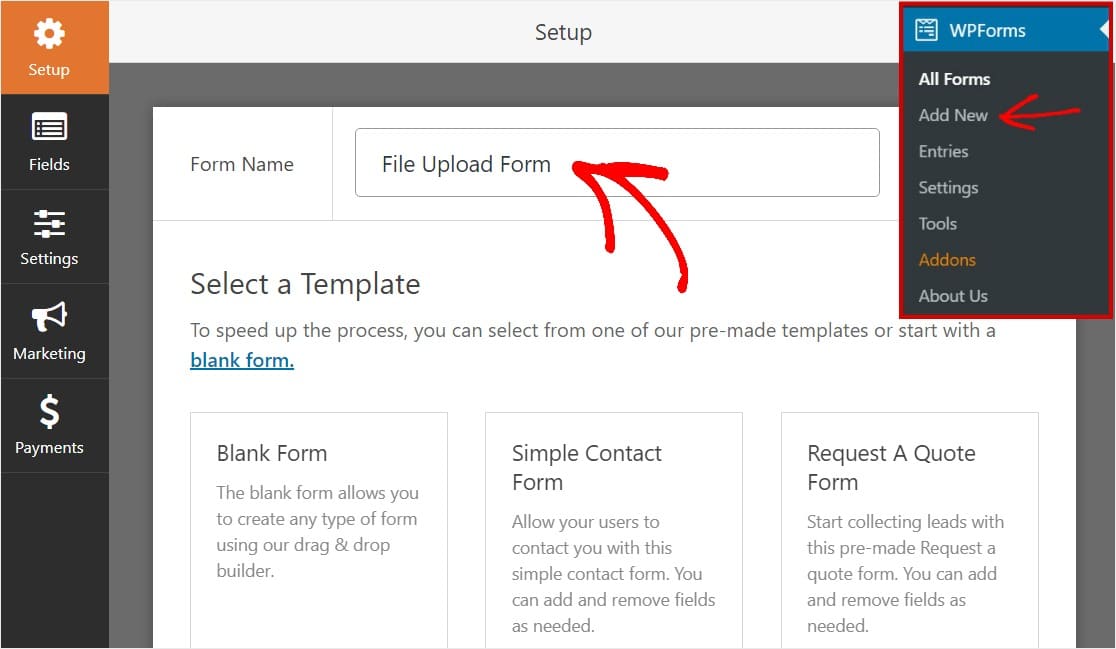
Step 3: Create A New Form
Now go to your WP dashboard >> WPForms then click Add new in the left-hand panel to create a new form and name it
Step 4: Create A File Upload Form Using A Pre-build Template
Scroll to the Additional Templates section >> type File Uploads form >> click to open the template
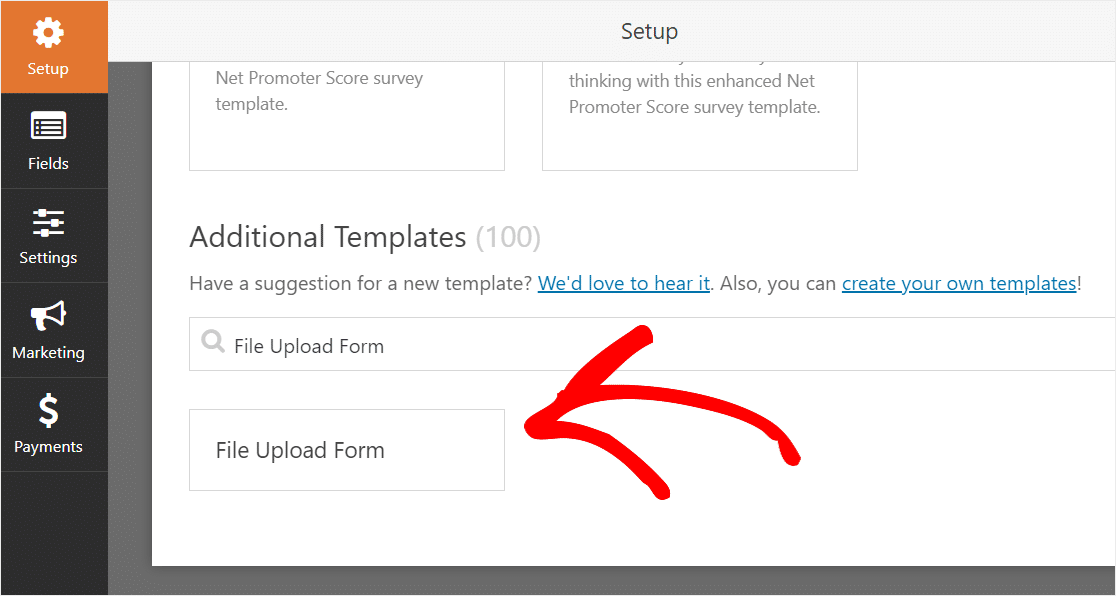
You will see a file upload form template
The template will have the Name, Phone, Email, Additional Comments and File Uploads fields
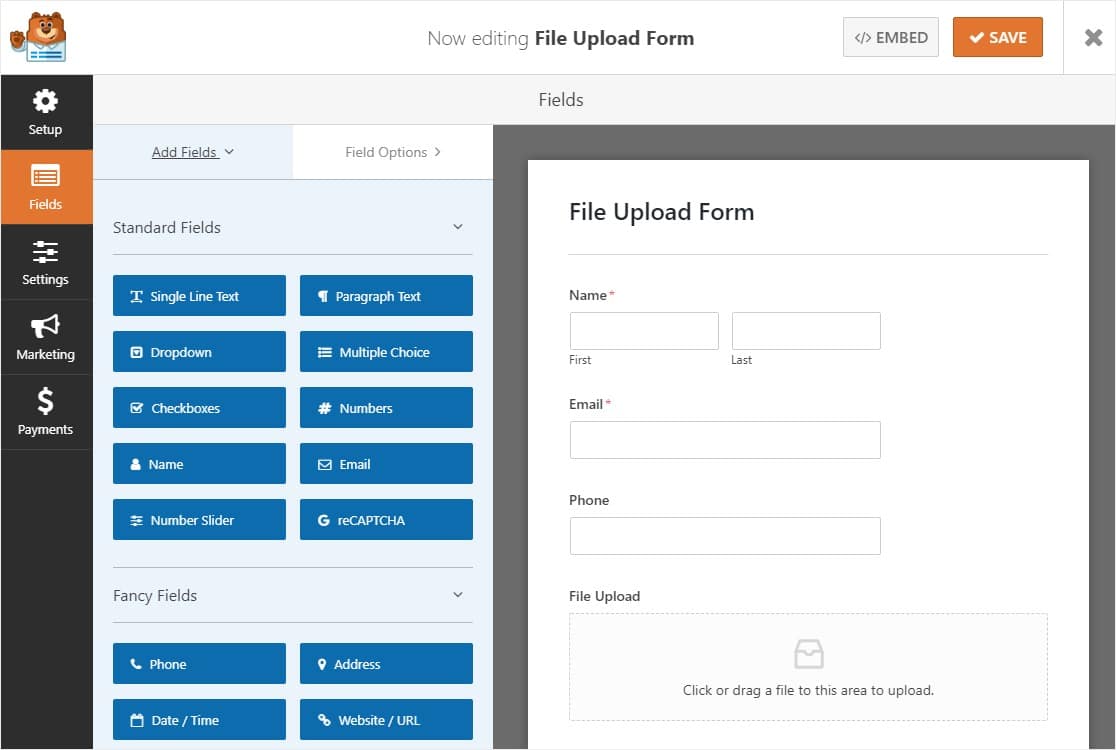
You can easily add additional fields if these fields aren’t enough for you by simply dragging them from the left-hand panel and dropping them to the right-hand panel
You can also rearrange the order of your form fields by clicking on a field and drag it to where you see fit
Thinking of adding the file upload feature to your other forms?
It’s easy
Simply go to the Fancy Fields and drag the file upload form field from the left-hand panel to the right-hand panel

WPForms also allows you to make a few changes to your forms when you click on the file upload field
Here’s what you can change :
- Label- Name the form field
- Description- Add a description explaining what you want your users to do
- Required- Show your readers what they’re required to do first
- Max File Size- Specify the max size you’ll allow users to upload
- File Extensions- List the type of files that can be uploaded to your WordPress form, each separated by a comma
- Style- You can switch between the modern style and the classic style
Note: By default, all the files that your users upload are stored in the WPForms folder inside the Uploads directory of your site but you can also store them in your WordPress Media Library by simply selecting Store file in the WordPress Media Library checkbox under Advanced options
Step 5: Customize Your File Upload Form Settings
To start customizing your file upload form settings go to Settings >> General

Here you can configure:
- Form name
- Form description
- Submit ButtonText
- Spam prevention
- Gdpr enhancements
- AJAX Forms
Don’t forget to click Save when you are done
Step 6: Configure Your Form’s Notification
If you’re like me you’ll want to know when someone submits one of your file Uploads forms and notifications are excellent in doing just that
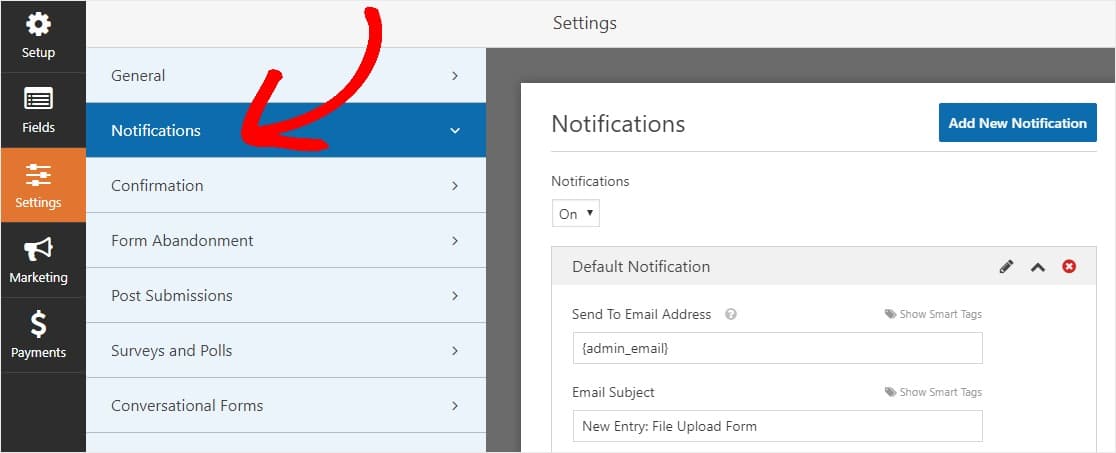
Unless you disable notifications (which I know you won’t lol) you will get notified via email whenever someone submits a form
And the cool part is, you can also send personalized notifications to your visitors if you use smart tags, this will help you let them know you received their forms

Learn more about smart tags here
That’s not all,
You also have the option to brand your notification emails by adding your logo in the custom header image area.
Your logo will show up at the top of every email notification like my logo below:

Step 7: Configure Your File Upload Form Confirmations
The form confirmation tells your readers whether the form was successfully processed or not and it can help you build a strong relationship with your visitors
Here are three types of Confirmations in WPForms
- Message – this is a default and customizable confirmation that appears after your visitor hits submit
- Display page – This type of Confirmation automatically sends your visitors to any page like a thank you page
- Redirect – This allows you to take your visitors to a different site or a specialized URL
Now let’s create a simple form confirmation and customize the success message that your visitors see when they submit a form
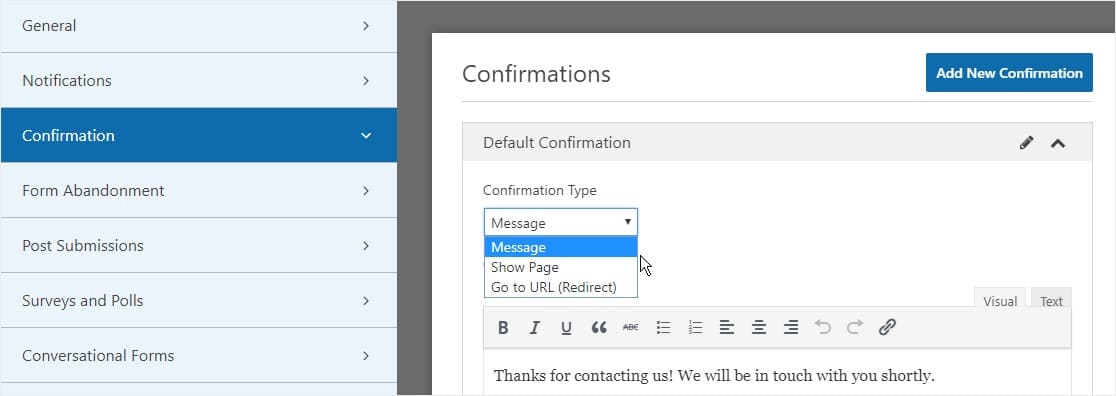
Now go to Settings >> Confirmation in the form editor, then select the type of confirmation you’d like to create
For this tutorial’s sake let’s select Message and customize the confirmation message
Remember to click Save when you’re done
Now your form is ready to go live on your website
Step 8: Add Your File Upload Form To Your Website
WPForms allows you to add your forms to various places on your site including blog posts, sidebar widgets, pages and footer areas that have widgets
That said, let’s publish your form in a post
Note: The way you publish a form in a post is the same with pages
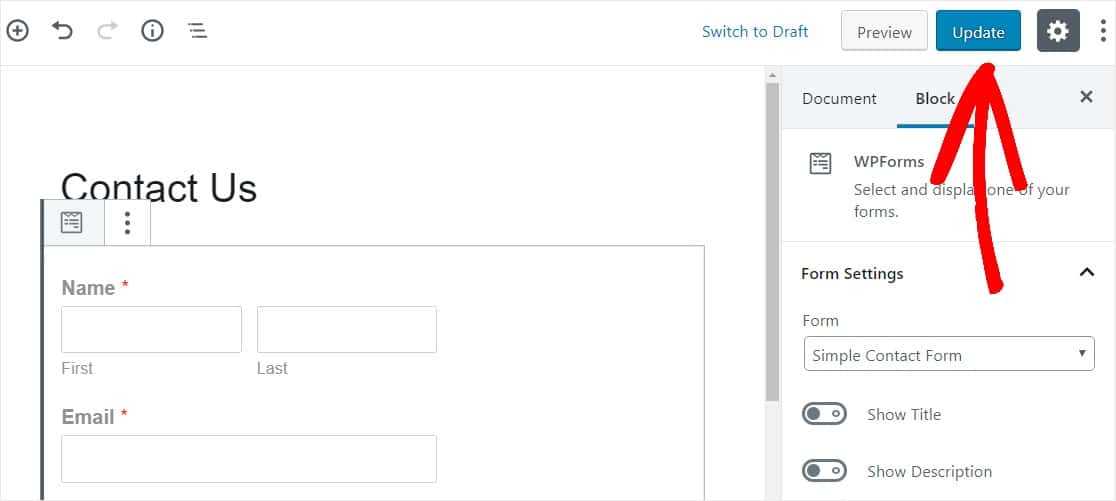
First, create a new post and click the + icon to add a new block and select WPForms
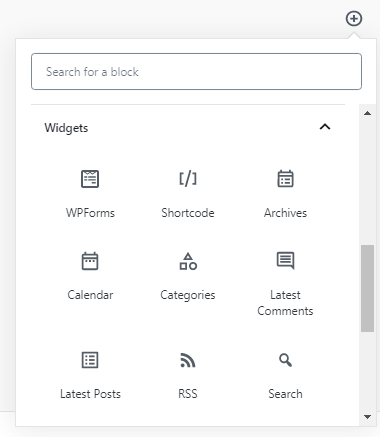
You will see the WPForms widget, now click on the WPForms dropdown and select your file upload form
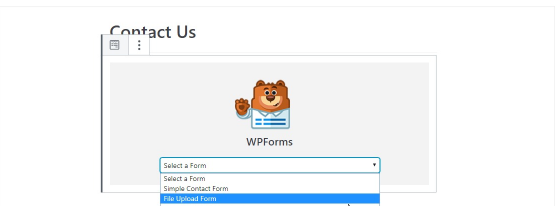
Now hit update/publish for your form to go live on your site
Voila! you have successfully added your file upload form to your WordPress site
Enjoy Uploading Files On Your WordPress Blog
It’s time to enjoy receiving countless files from your visitors without wasting time
Remember this also help you reduce your form abandonment rate, so don’t wait any longer get started with WPForms now
I hope this post helped you, please show some love kindly share with your peeps and don’t forget to follow me on Pinterest

Mathea Ford is a blogger, dietitian and mom of 2 just working on this blog to make life a little better for those around me. Check out her latest posts


This looks easy to do, i like how you take us through the steps in so much detail, I’ll definitely try it out